Getting Started
How to use Connect Wallet in your application
1. Create an API Key
To use Connect Wallet to its full capacity, you must create an API key with storage and RPC enabled. This is because storage is used to render the icons and images in the Connect Wallet component and our RPC edge to connect to the blockchain in your application.
- Obtain an API key from the thirdweb dashboard Settings page.
- The API key will need to have the following settings: Storage and RPC as enabled services
- Learn more about creating an API key and restricting which contracts the smart wallet can interact with by viewing the API key documentation.
- Copy your
clientId. Since we are building a front-end application, we will need to use this key to build our application.
2. Create an App
To use Connect Wallet in a React app you can either:
- Use the create command to create a new project with the dependencies already installed.
- Add the dependencies to an existing project.
For React-Native and Unity environments, skip to the Add Dependencies to an Existing Project section.
Create a New Project
Open your terminal and run:
npx thirdweb create app
When prompted, select/input the following options:
- A name for the project
EVMas the blockchain- Select your desired environment e.g.
Next.js TypeScriptorJavaScriptas the language.
This will create a repository with the dependencies installed.
Add Dependencies to an Existing Project
To add the dependencies to an existing project, run the following command:
npx thirdweb install
This will detect the environment you are working in and install the relevant dependencies.
3. Wrap your Application in a thirdweb Provider
To use the thirdweb SDK and Connect Wallet in React or React-Native, you need to wrap your application in a ThirdwebProvider and pass your clientId:
import { ThirdwebProvider } from "@thirdweb/react"; // or @thirdweb/react-native;

const App = () => {
  return (
    <ThirdwebProvider activeChain={"goerli"} clientId={"your-client-id"}>
      <YourApp />
    </ThirdwebProvider>
  );
};
For unity, you will need to add the ThirdwebManager prefab to your scene. Visit the Unity documentation for more information.
4. Import Connect Wallet
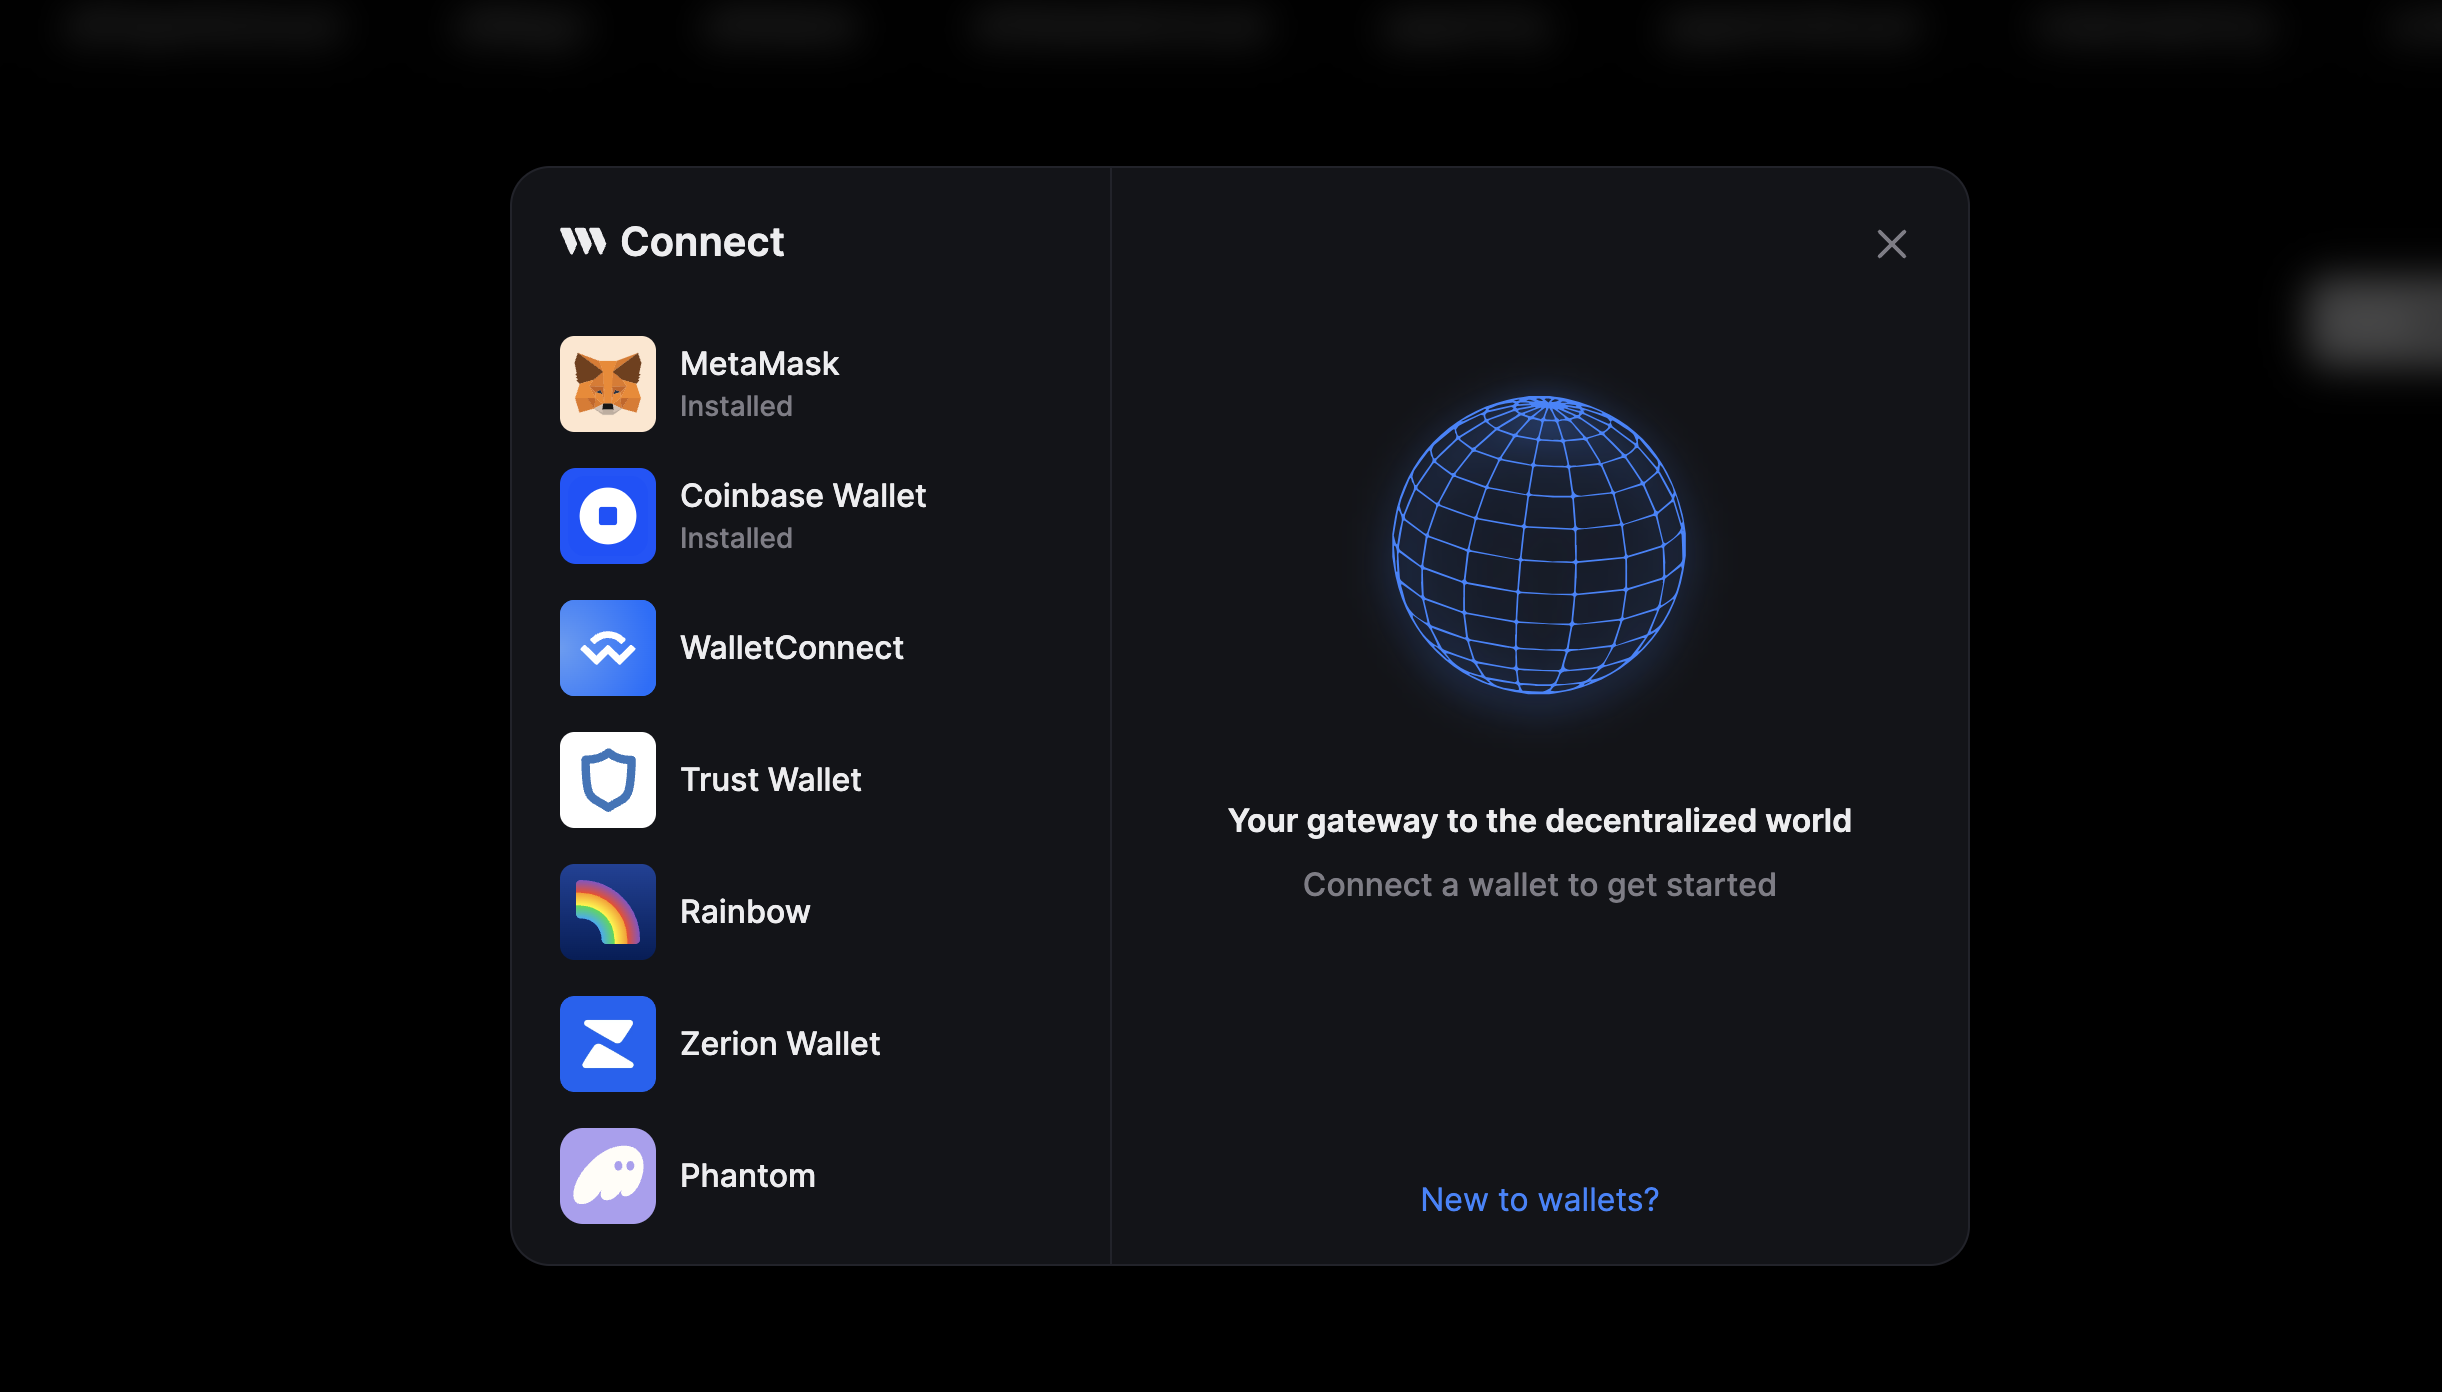
To use Connect Wallet in your application in React or React-Native, import it from the package corresponding to the language you are working in and then you can use the component in your application:
import { ConnectWallet } from "@thirdweb/react"; // or @thirdweb/react-native;

const YourApp = () => {
  return (
    <div>
      <ConnectWallet />
    </div>
  );
};
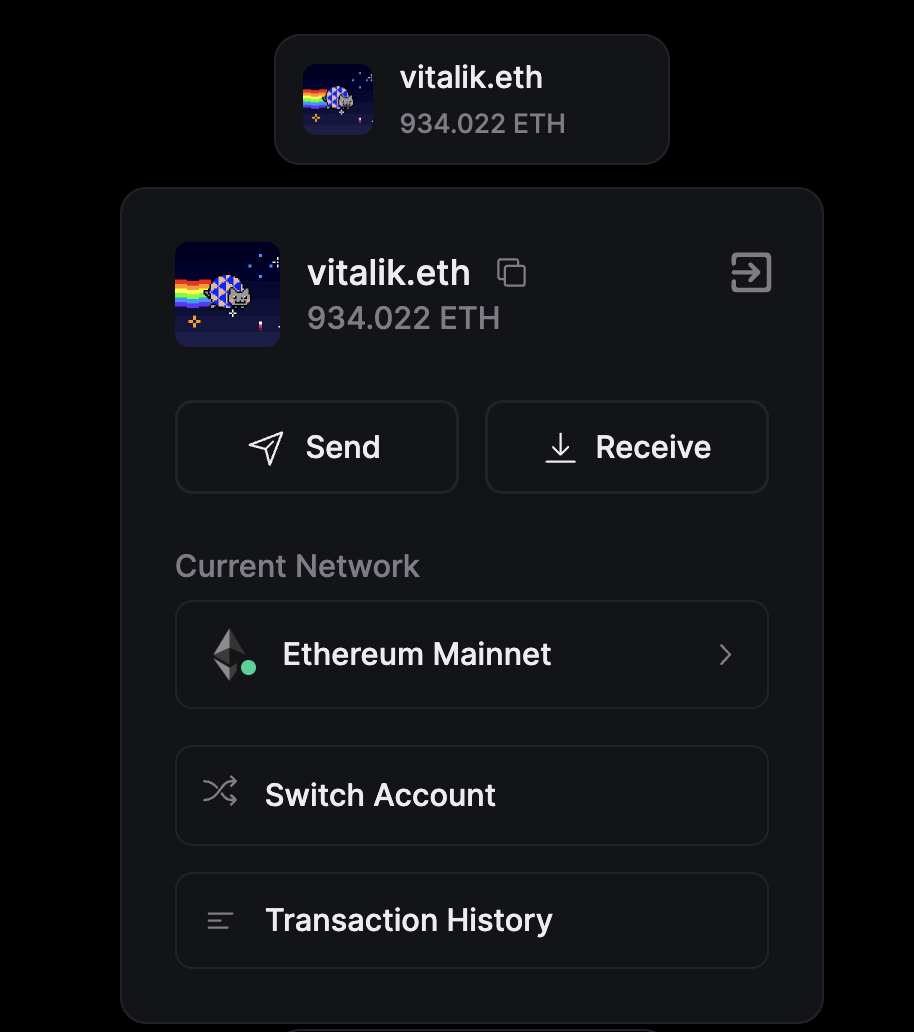
This will render the Connect Wallet component in your application:


If you are working in Unity, you will need to add the ConnectWallet prefab to your scene. Visit the Unity documentation for more information.
4. Customize the Supported Wallets
To modify the wallet providers your Connect Wallet displays and allows users to connect with in React or React-Native, import the desired configurator from the package, depending on the environment you are working in, and provide an array of wallet configurations to the supportedWallets object in the ThirdwebProvider
import {
  ThirdwebProvider,
  metaMaskWallet,
  coinbaseWallet,
  embeddedWallet,
} from "@thirdweb/react"; // or @thirdweb/react-native;

const App = () => {
  return (
    <ThirdwebProvider
      activeChain={"goerli"}
      clientId={"your-client-id"}
      supportedWallets={[metaMaskWallet(), coinbaseWallet(), embeddedWallet()]}
    >
      <YourApp />
    </ThirdwebProvider>
  );
};
For Unity, from the Inspector window, you can configure the options for the ConnectWallet prefab.
5. Enable Gasless
To enable gasless transactions for your users in React or React-Native, you can use Smart Wallets and enable glasess=true in the ThirdwebProvider:
import { ThirdwebProvider, smartWallet, metaMaskWallet } from "@thirdweb/react"; // or @thirdweb/react-native;

const App = () => {
  return (
    <ThirdwebProvider
      activeChain={"goerli"}
      clientId={"your-client-id"}
      supportedWallets={[
        smartWallet(metaMaskWallet(), {
          factory: "YOUR_FACTORY_ADDRESS",
          gasless: true,
        }),
      ]}
    >
      <YourApp />
    </ThirdwebProvider>
  );
};
For Unity, follow this guide to set up Smart Wallets in your game.